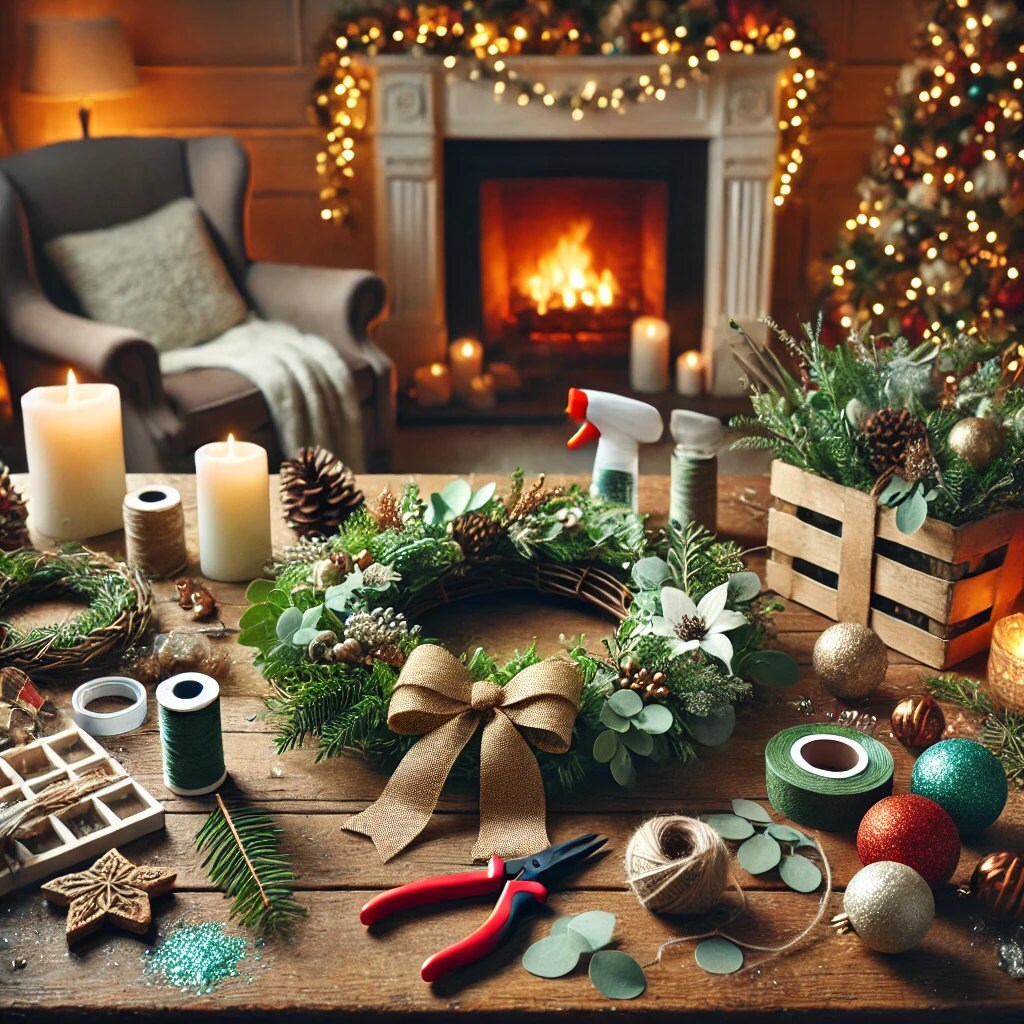
Ah, wreath season. That glorious time of year when we moms decide our front door deserves a glow-up to rival the Rockefeller Center tree. And, naturally, we think, “I can totally DIY a wreath!” This is how I found myself one chilly December evening with a hot glue gun in one hand, a toddler wielding glitter glue in the other, and my Shiba Inu, Nya, attempting to eat the ribbon scraps. Let me be your guide through this magical (and mildly chaotic) journey of creating personalized holiday wreaths that are natural, glam, and even kid-friendly.
The Natural Wreath: Channeling Martha Stewart, but Realistic
First, let’s talk greenery. Forget running to the craft store - aid your backyard! Foraged greenery is all the rage, and nothing says "Pinterest mom" like casually mentioning that you clipped your eucalyptus from the neighbor’s yard (ask first... or be sneaky).
What You’ll Need:
- Foraged greenery like pine, cedar, or eucalyptus
- A wire wreath frame (or make one with a sturdy hanger - DIY cred doubled!)
- Floral wire
How to Do It: Lay down a layer of greenery, secure it with floral wire, and repeat until the frame is lush and fabulous. For a rustic vibe, let a few twigs and berries stick out here and there.
Mom Tip: Wear gloves. I didn’t, and my hands looked like they’d gone 12 rounds with a rose bush. Also, if your toddler insists on “helping,” give them a small pile of leaves and tell them it’s their “baby wreath.” Mine was thrilled to “make her own,” which was actually just a pile of twigs on the floor.
The Glam Wreath: Bring on the Bling
When you want a wreath that says, “Yes, I woke up like this... and it was fabulous,” go glam. Think metallic ornaments, glitter, and enough sparkle to make your tree jealous.
What You’ll Need:
- A plain wreath base (grapevine or foam works)
- Mini ornaments in metallic colors
- Ribbon (go for satin or velvet - thank me later)
- Hot glue gun
How to Do It: Hot glue the ornaments onto the base in clusters for that chic, layered look. Add ribbon in a dramatic bow or let it cascade down for a touch of extra.
Mom Tip: Test the glue gun temp. The first time I tried this, I accidentally fused two ornaments to my kitchen counter. Also, keep the kids distracted with their glitter glue masterpieces because a hot glue gun in a toddler’s hands? That’s not a holiday memory you want.
The Kid-Friendly Wreath: Pinterest-Worthy Chaos
This is where the fun - and mess - truly begins. Let your little ones unleash their creativity while you sip your lukewarm coffee and pretend the glitter storm is festive.
What You’ll Need:
- A foam wreath base
- Craft supplies: pom-poms, pipe cleaners, jingle bells, stickers, whatever’s in the craft bin
- Patience (and maybe wine)
How to Do It: Let your kids go wild gluing, sticking, and decorating. There’s no wrong way to make this wreath because it’s a “modern art statement.” Display it proudly - it’s bound to earn you a few “supermom” comments from the neighbors.
Mom Tip: Cover the table with paper or plastic first. I didn’t, and I’m still finding glitter in my morning cereal. Oh, and if your kid’s “vision” involves 90 pom-poms in one corner, just roll with it. Their joy is what the holidays are all about.
DIY wreath-making is less about perfection and more about the memories (and the funny stories you’ll retell later). Like the time Nya stole a pinecone mid-project, scattering glitter and needles everywhere while my toddler screamed, “Nya’s ruining Christmas!” Spoiler: Christmas survived, and so did my wreath - barely. So, grab your glue gun, wrangle your little helpers, and let your creativity shine. Whether you’re crafting a chic glam masterpiece or proudly displaying your toddler’s glitter-glued wonder, your wreath will be uniquely yours - and that’s what makes it magical.
Now, if you’ll excuse me, I have to stop Nya from chewing on the ribbon bow.
xoxo

